Have your woodworking project ruined because of a lousy sanding job? Do you hate sanding because it can be tedious? Woodworking machines cause some mill marks on the wood. Sanding is used to remove those mill marks and other flaws such as dents and gouges. Sanding gives the overall quality of the woodworking project. Learn how to sand wood through a variety of methods, from hand sanding to using a specific type of power sanders.
Select the Right Sandpaper
You have to choose the best sandpaper for your sander and based on the surface you are going to work with. The usage of wrong sandpaper could irreparably damage your handiwork. Sandpapers are graded as Coarse (40 to 60 grit), Medium (80 to 120 grit), Fine (150 to 180 grit), Very fine (220 to 240 grit), Extra fine (280 to 320 grit) and Super Fine (360 and above). Start the initial sanding with varying coarse-grit aluminium oxide sandpaper followed by finer-grit garnet sandpapers for the smooth finish that will show off your woodworking skills and give you a nice platform for staining and painting your woodworking project.
Random Orbital Sander
A random Orbital Sanders is used to sand very quickly and smoothly, with the added advantage that the random action will leave very few sanding marks on the face of the wood. These are the best orbital sanders available in the market at an average rate. It has the ability to sand in a completely random orbit, at speeds of up to 25,000 RPM. Keep the sander moving with the grain of the material and leaving the sander in one place may cause an uneven finish.
Oscillating Spindle Sander
An oscillating spindle sander is used for sanding the edges of boards. Start your sanding with a coarse grit, medium grit followed by a fine grit sanding.
Hand Sanding for a Smooth Final Touch
Remove the dust formed from sanding by power sanders. You can sand the wood surface with the help of sandpaper and your hand. Sandpaper comes in “9 x 12″ sheets and you can cut them into 4 pieces at a 4-1/2″ x 6” size and use for the work.
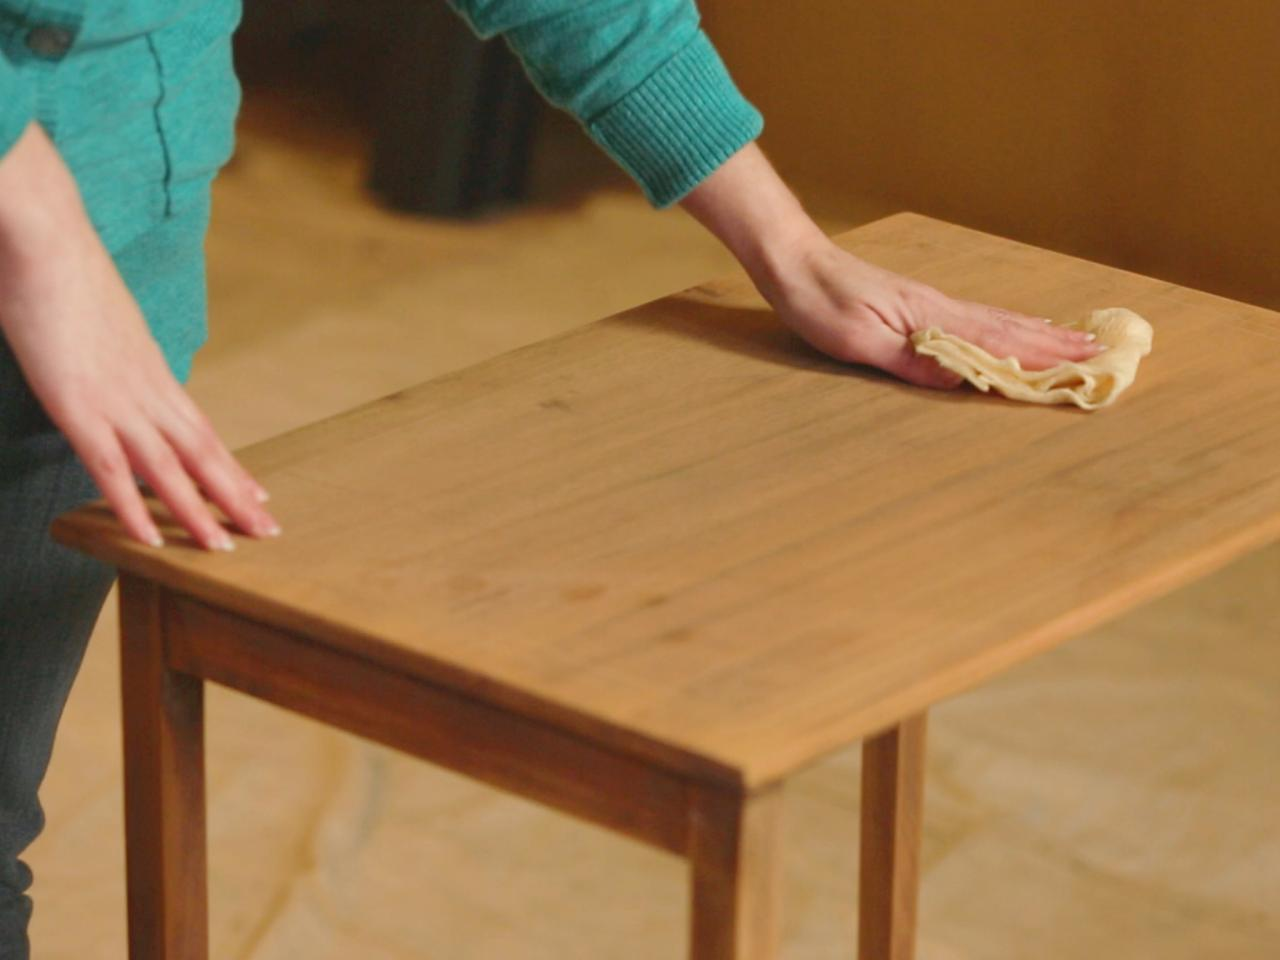
Remove All Traces of Dust Particles
After sanding, remove all traces of sawdust before you are able to apply the paint or stain finish of your choice. Finest dust is virtually invisible to the eye but when you apply paint, varnish, or stain, the surface will turn out muddy in color and rough in touch. The first step is blowing off the dust using an air compressor fitted with a blower nozzle. Don’t use a vacuum cleaner because it will exhaust dust right back into the room, where it can resettle on the wood surfaces. The second step is to wipe it with a clean, dry cloth. The third step is to use a tack cloth, it miraculously picks up the dust that vacuuming and dry clothes cannot remove. It is a piece of loosely woven cheesecloth impregnated with beeswax. Use it to wipe over all the wood surfaces and change the cloth whenever it gets dirty.